3. Installation de Websphere Application Server
1. Documentation
Chapter 2. Installing WebSphere Application Server on distributed systems
- 2.1 IBM Installation Manager overview
- 2.1.1 Terminology
- 2.1.2 Capabilities
- 2.2 Installation Manager installation
- 2.2.1 Using the GUI installer to install Installation Manager.
- 2.2.2 Using console mode to install Installation Manager
- 2.2.3 Using the command line to install Installation Manager
- 2.2.4 Using the silent installer to install Installation Manager.
- 2.2.5 Uninstalling Installation Manager
- 2.3 Using Installation Manager
- 2.3.1 Wizard mode.
- 2.3.2 Command-line mode.
- 2.3.3 Console mode.
- 2.3.4 Silent mode
- 2.4 Customizing Installation Manager
- 2.4.1 Installation Manager preferences
- 2.4.2 Repositories overview.
- 2.4.3 Repository configuration
- 2.4.4 Updating Installation Manager
- 2.4.5 Managing packages
- 2.4.6 Examining log files
- 2.5 Installing WebSphere Application Server
- 2.5.1 Prerequisites
- 2.5.2 Using GUI mode
- 2.5.3 Using silent mode
- 2.6 Installing additional software
- 2.6.1 WebSphere Customization Toolbox
- 2.6.2 Application Client for WebSphere Application Server V8.5.
2. Environnement
Système d’exploitation : Centos 7
Configurer sudo
3. Prendre un compte chez IBM
Exercice
4. Installer et exécuter Installation Manager
Exercice
Télécharger Installation Manager
N°8 groupe de mises à jour: 1.8.9.2-IBMIM-LINUX-X86_64-20181015_1517 IBM Installation Manager Install Kit for all x86_64 Linux versions supported by version 1.8.9.2
mkdir agentinstaller
cp *.zip agentinstaller
cd agentinstaller
unzip agent.installer.linux.*.zip
./install
Pour ré-exécuter Installation Manager :
sudo /opt/IBM/InstallationManager/eclipse/launcherEnfin, enregistrer son compte dans Installation Manager
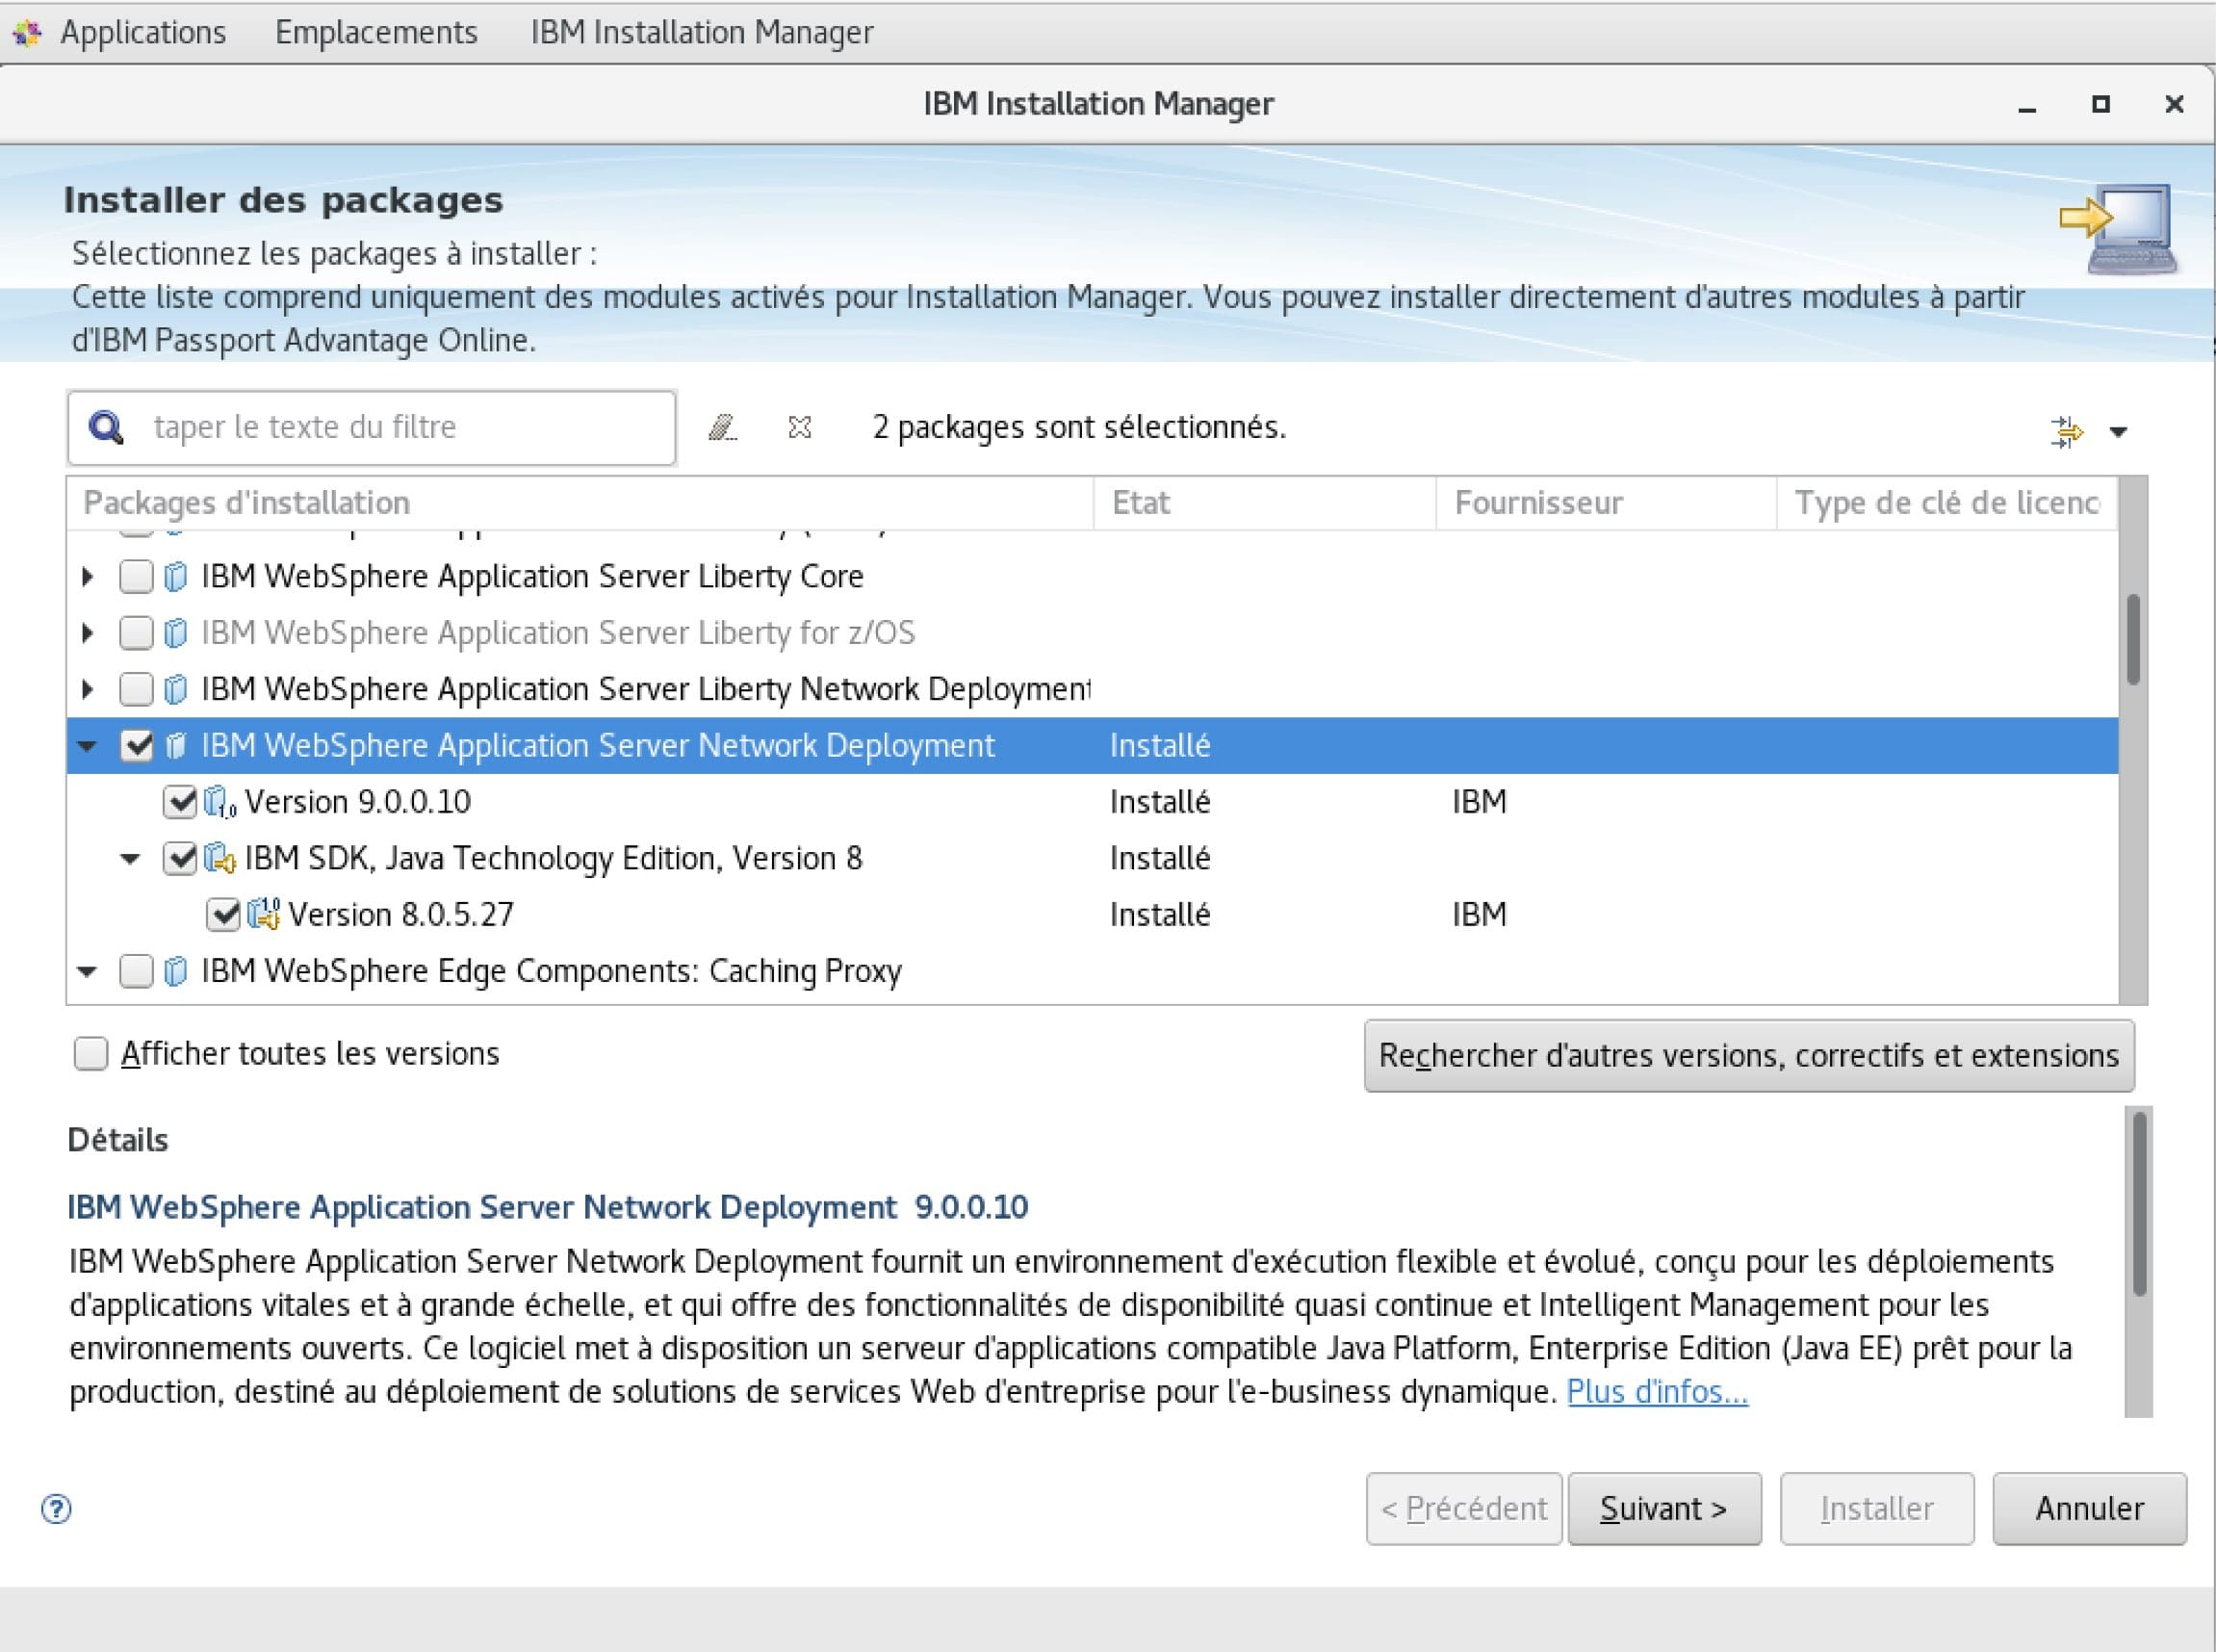
5. Installer Websphere Application Server Network Deployment
Exercice

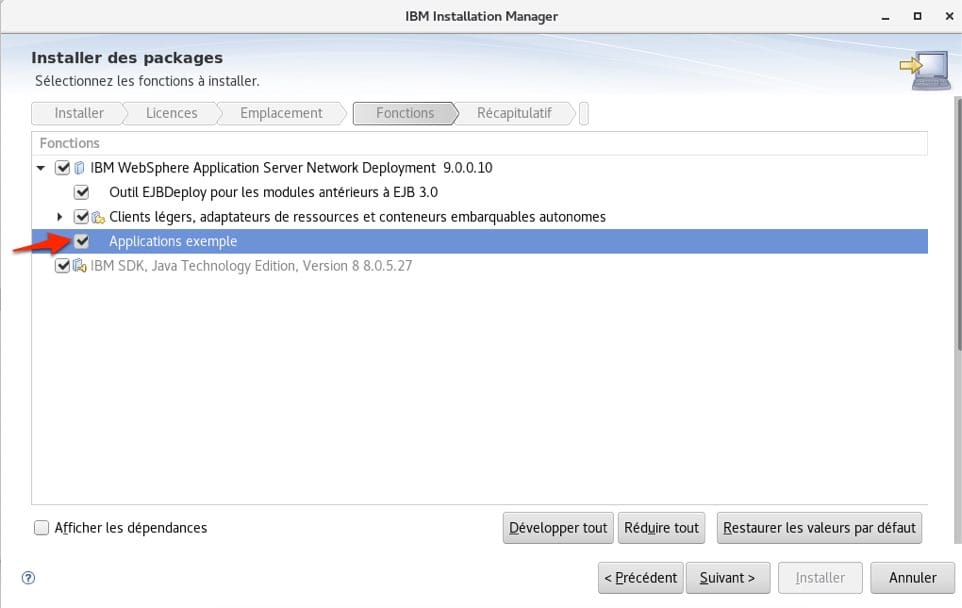
Ne pas oublier d’installer les exemples.

6. Installer un nouveau profil de serveur d’application
Exercice
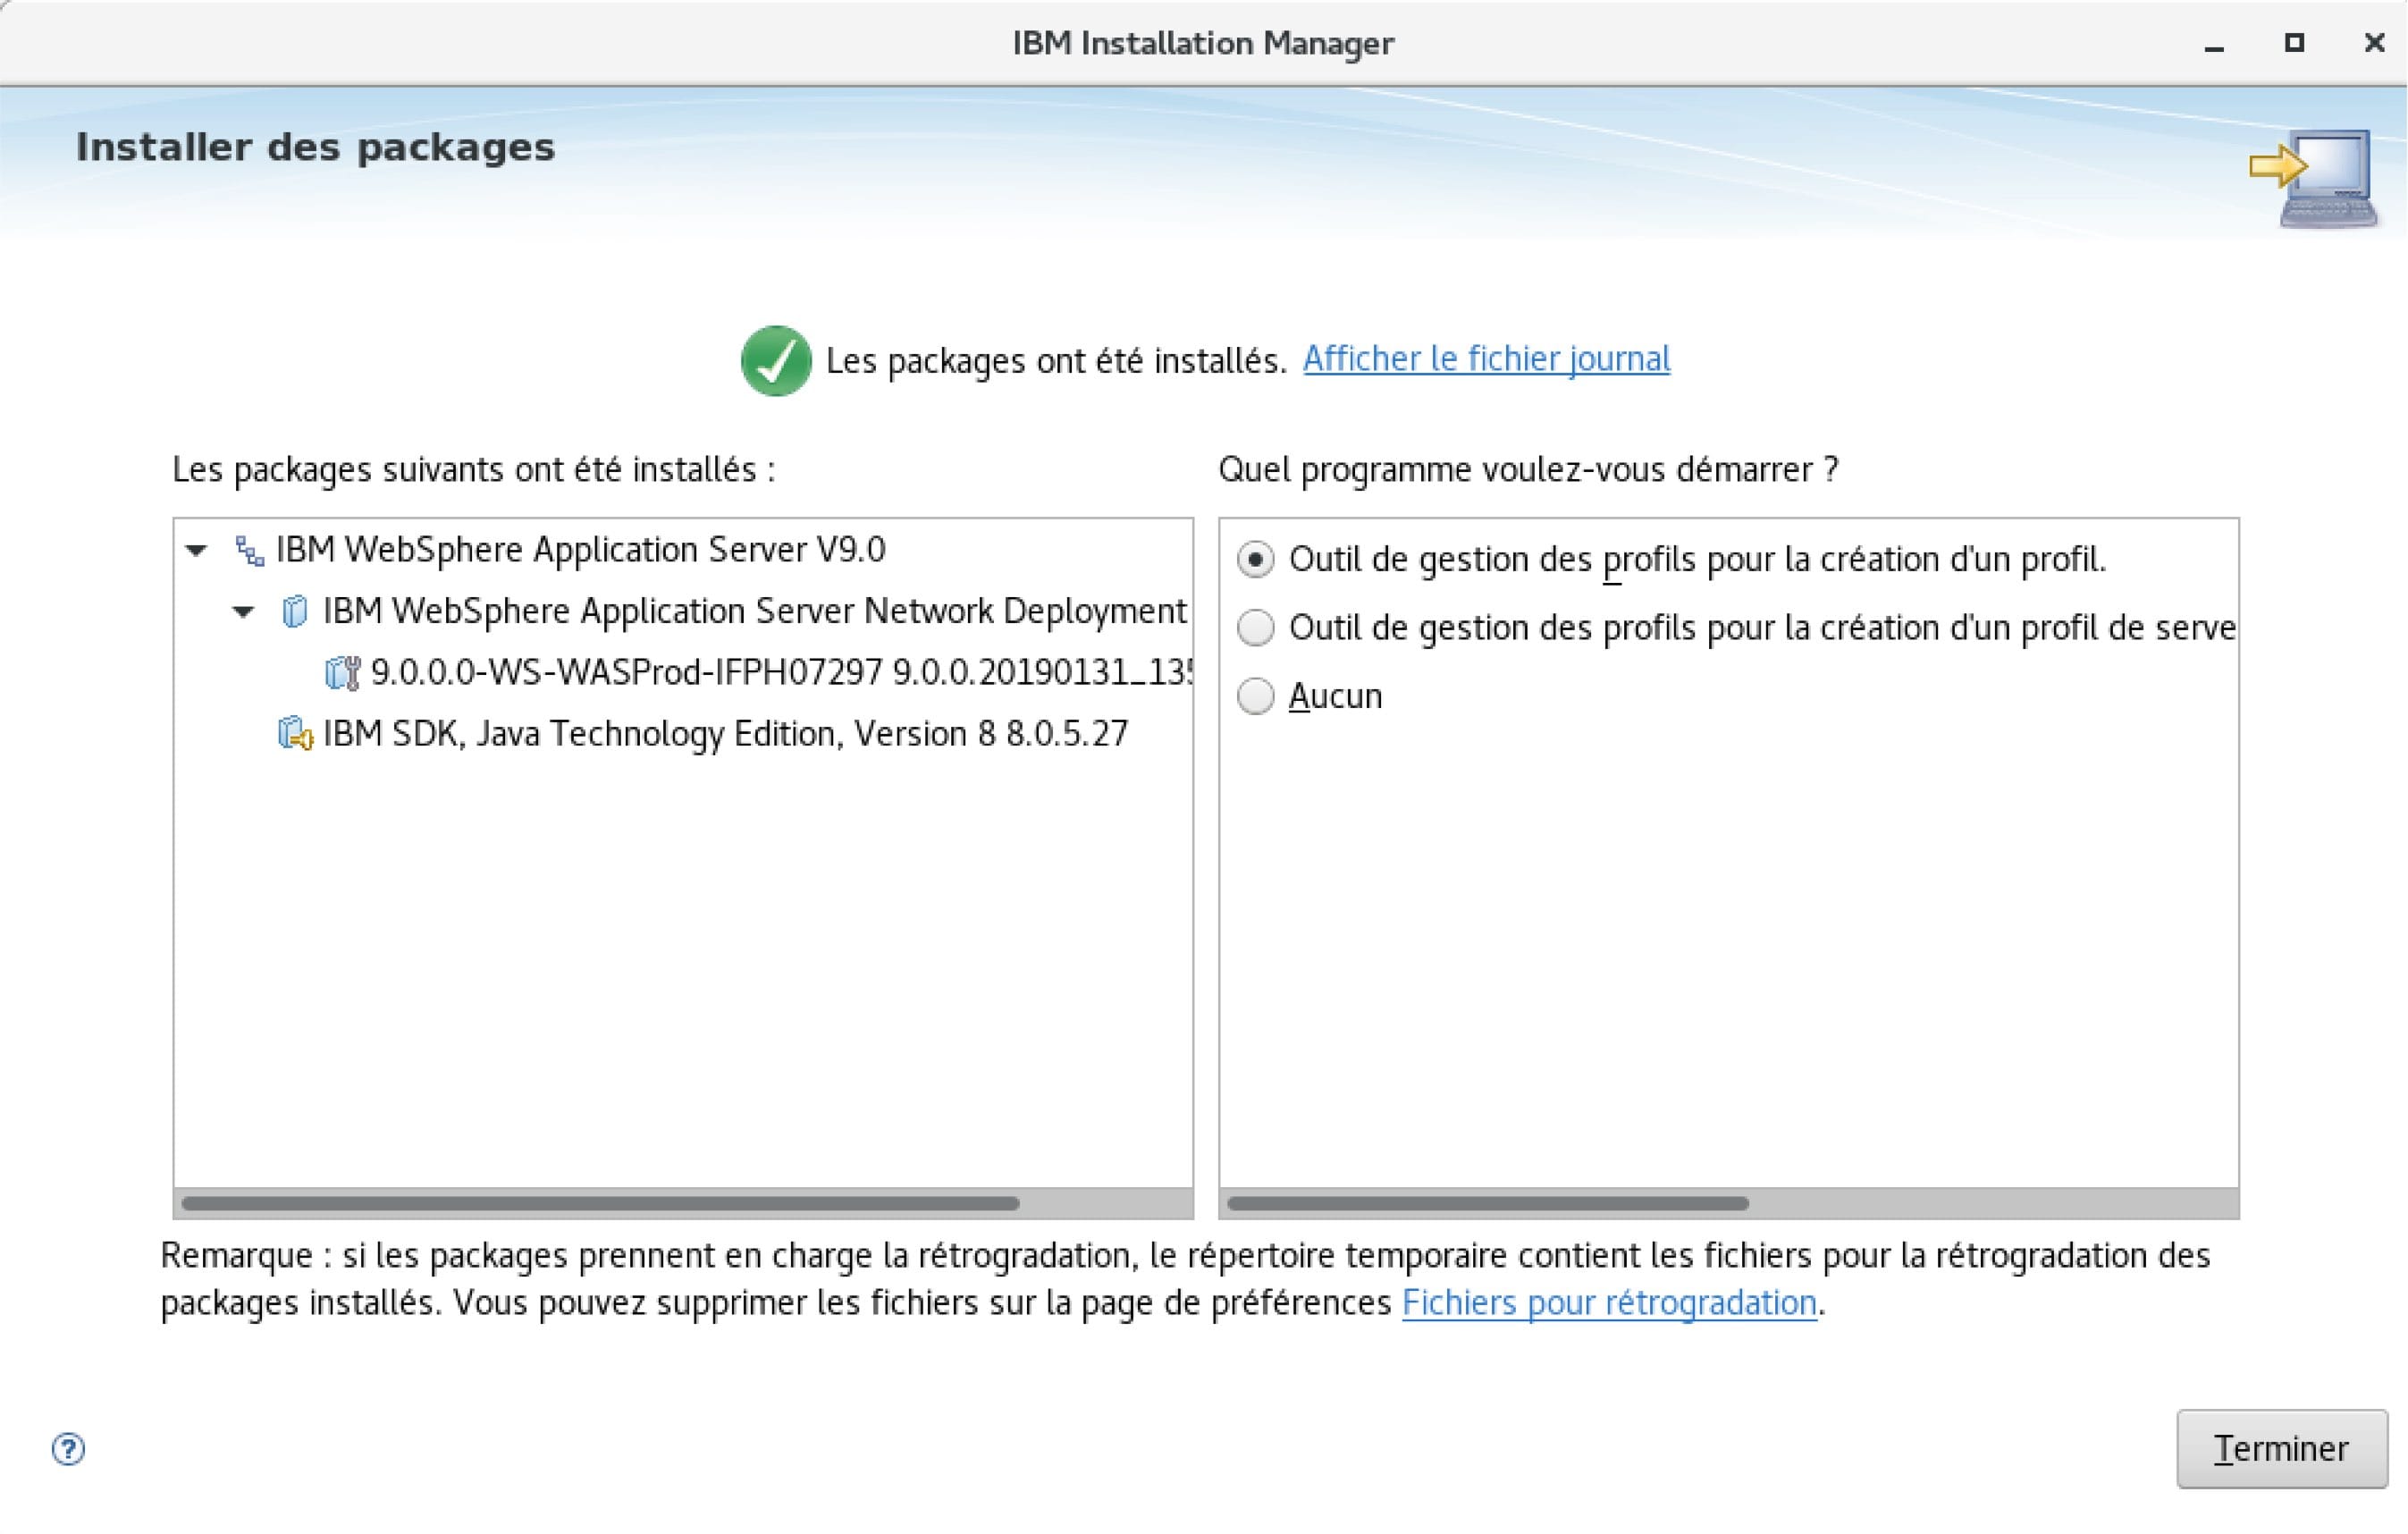
Dès que l’installation de WAS est terminée, Installation Manager demande si l’on veut ou non lancer le gestionnaire de profil (Customization Tool, Profile Management Tool)

Pour rappeler ce logiciel “Customization Toolbox Profile Management Tool” :
A partir du menu : Applications > IBM WebSphere Application Server Network Deployment V8.5 > WebSphere > Customization Toolbox > Profile Management Tool.
Ou en ligne de commande :
/opt/IBM/WebSphere/AppServer/bin/ProfileManagement/pmt.shAussi, on peut vérifier la version du serveur :
/opt/IBM/WebSphere/AppServer/bin/versionInfo.sh7. Lancer le serveur d’application
Exercice
/opt/IBM/WebSphere/AppServer/profiles/AppSrv01/bin/startServer.sh server1 -profileName AppSrv018. Test d’application
Exercice
- Snoop
- Hello
- HitCount
Quelques URL sur application de test (IVTapp, install verification test) :
http://127.0.0.1:9060/ibm/console
http://127.0.0.1:9080/ivt/ivtserver?parm2=ivtservlet
http://127.0.0.1:9080/ivt/ivtserver?parm2=ivtAddition.jsp
http://localhost:9080/ivt/ivtserver?parm2=ivtejb
9. Découverte de la console Web (Integrated Solutions Console)
Exercice
https://127.0.0.1:9043/ibm/console
10. Serveur, noeud et cellule
Rappel
Un serveur est un environnement d’exécution, un processus d’exécution.
Un noeud est un regroupement de serveurs qui partagent une configuration commune. C’est une machine physique.
Une cellule est un regroupement de noeuds dans un domaine administratif unique. Pour websphere, cela signifie que si vous regroupez plusieurs serveurs au sein d’une cellule, vous pouvez les administrer avec une seule console d’administration Websphere.
Une seule machine physique peut avoir plusieurs noeuds WebSphere. La distinction réelle est “Un noeud est un regroupement logique de serveurs gérés”. Chaque noeud correspond exactement à un profil. Chaque serveur correspond à une instance websphere en cours d’exécution. Une cellule a exactement zéro (pour un serveur autonome) ou un noeud Deployment Manager.